Saturday 27 November 2010

Vintage Furniture Flea

There's finally snow in London (yay!) and there's definitely a festive feeling in the air. As I am firmly in the Christmas-loving camp I've already done lots of Christmas shopping and I've had the Christmas tunes on for a good few weeks already. I've also been busy sewing lots of Christmas presents which is why I haven't posted on the blog for a while. I can't post photos yet as it will ruin the surprise but I'll put some up after Christmas.

In other exciting news I've made my first official sale and I've sold four of my bibs. Admittedly it was to my sister but you have to start somewhere! And after my beautiful goddaughter has been modelling the bib I made her, I've had some very positive feedback from interested London mums as well. So I've been thinking more seriously about pricing, packaging and finally getting some on Etsy for sale in the new year.

However, I thought I'd share some photos from the first ever Vintage Fashion Flea held at York Hall in Bethnal Green London. (Thanks to Amy from Robin & Mould for the tip off.) I always seem to fall in love with things way out of my price range so it was brilliant to see such a great range of vintage furniture at genuinely reasonable prices. I've been looking for a vintage mirror for a while and there were at least three that I loved. I opted for a great deco style one which still has the original clasps. A total bargain for £30 I think. Now I just need to sweet talk my boyfriend into hanging it up in the bedroom.


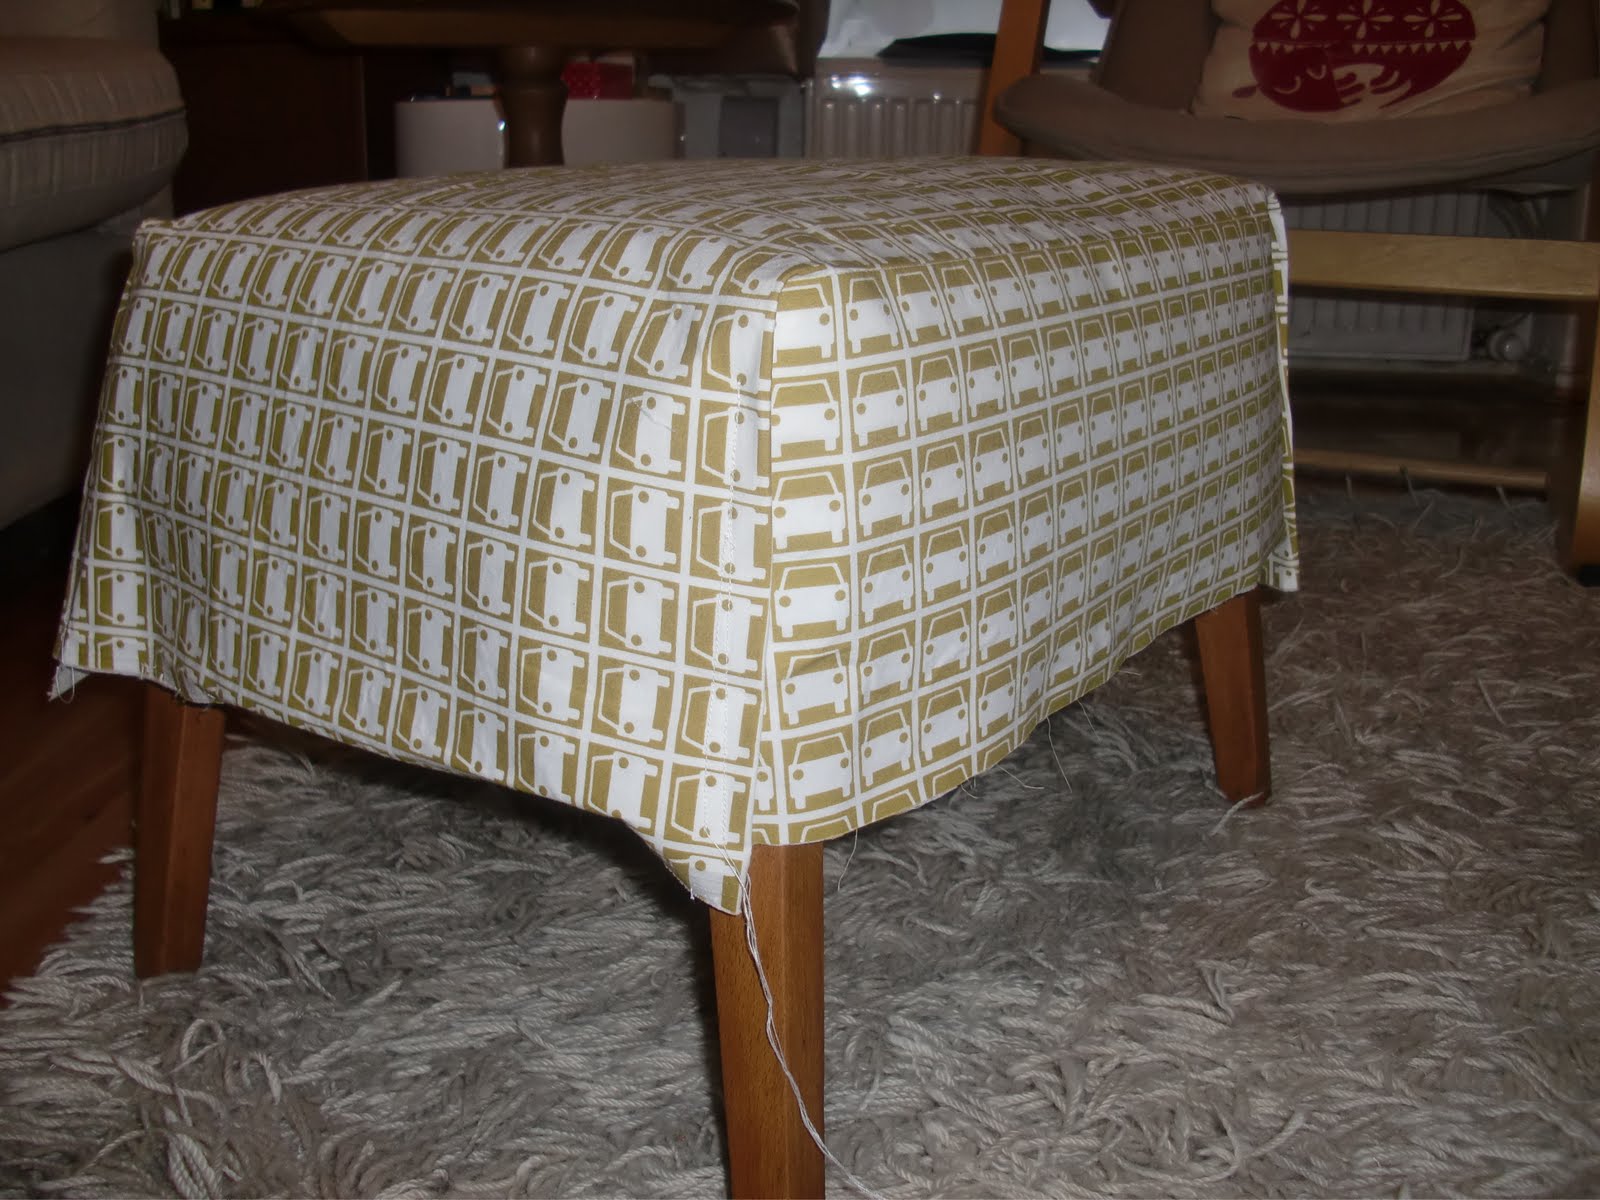
Then I spotted this lovely 1970s coffee table which was a very reasonable £40. It looks great in our front room and now I finally have somewhere to store the ever-growing piles of magazines.


If only I had more money (and space); there were a couple of amazing bars from the 1950s and loads of beautiful vintage glasses that I wanted. One day I'll get to indulge my love of cocktails and Mad Men with my own bar *sighs wistfully*. I hope they do another Vintage Furniture Flea next year and I think I'll drag the boyfriend along so he can buy me some Christmas presents!


If you're interested there is a Vintage Furniture Flea happening in York soon. You can visit the Affordable Vintage Fair blog for more details.

Monday 25 October 2010

An Early Halloween Treat


I wanted to share this photo as it makes me smile. My lovely friend Amber from The Broken Hearts DJ duo is hosting a Halloween themed dinner party this weekend. And a while ago, I was lucky enough to be invited over to test out the menu with my good friend and social media guru Rachael Castell. We had delicious homemade haddock pate with a ghoulish green topping presented in beautiful vintage tea cups (see above), a delicious Sicilian vegetable stew featuring some delicious pumpkin and a pumpkin pudding to finish. All washed down with some sparkling rose.

As Amber and Rachael are both two of my most creative and media savvy friends the conversation was all about blogging and getting your brand out there online. I'll share more about their new blogs when they launch them!


Monday 6 September 2010

Junk Shop Stool: Before & After

Last time I went down to Wiltshire to visit my lovely friends at Robin & Mould, they took me to the most amazing junk shop. I bought lots of vintage china teacups and a footstool that the guy in the shop threw in for free. Obviously it's taken me a few months to get round to covering it but I'm pretty pleased with the result.Huge thanks to my wonderful boyfriend who did most of the hard graft - sandpapering and varnishing. The material is from two Orla Kiely pillow cases that I unpicked, lined and then sewed back together. It's such a shame that you can't buy her fabric by the metre here but this probably worked out cheaper, and I'm going to use the leftover material to cover some chairs (I'll post photos when they're done).
Here's what the stool looked like at various stages along the way:

Sunday 27 June 2010

Fab purse making course


I spent a wonderful evening at the lovely Make Lounge in Islington London back in June and I learnt how to make this snap frame purse in just one evening. The course is run by the lovely Ariane Dreysse who has her own accessories label Peppermint Twist. If you live in or near London I'd totally recommend the Make Lounge. It was a great way to de-stress after a day at work complete with nibbles, wine and like minded people. I really felt like I learnt something useful and as these purses can be a little bit fiddly, actually being shown how to make it rather than struggling with an online tutorial was totally worth the money.


At the beginning of the class you get to chose your material for the outside and lining from the amazing selection in the on site shop at the Make Lounge. I was in heaven - there were soo many fabrics that were totally my kind of thing. I couldn't help buying a few more for the next lot of bibs on my way out. I even picked up some glue and purse frames determined to make sure I made some more at home so I didn't forget.


As I'm writing this a few months after the course I'm pleased to say I have actually made some bibs with the new fabric and another purse as a birthday gift. Images to follow...I'm very excited!
How cute are these prints?!


Links: Snap Frame Purse course
The Make Lounge


Tuesday 15 June 2010

The first baby bibs


As one of my friend's has just had a baby and another one is due in a few weeks I wanted to make a unique present for the new arrivals. So I attempted to make some baby bibs with some vintage print fabric. I was pretty pleased and they are definitely more satisfying to make then fiddly curtains!


After drawing a half-bib template freehand, you simply cut out the fabric. Sew together leaving a side gap to turn out he fabric. I great tip I read online was to use a chopstick to help do this.


Then after ironing it flat you sew around the edge again, this time joining the gap. Simple.
I'm looking forward to seeing some photos of the little ones dribbling down them. Will attempt some more styles once the first two have been road tested!

Singapore Style


My excuse for being quiet on the blog recently is that my boyfriend and I went on an amazing trip recently to Singapore and Malaysia. I think I'll be paying it off for the next few years!
I loved the typography in Singapore though. Everywhere you go there is something cool like a cute vending machines or signposts for a soya bean shops!


We got very carried away by the Japanese style toy machines!!


Robin & Mould go global...


Inspired by the success of my lovely friends Amy & Christian who run Robin & Mould I'm determined to return to the blogging fold! After my holiday I haven't blogged for a while, so I have a stack of things to post about including the baby bibs I've been making.


But while I'm catching up, I just wanted to say congrats to Robin & Mould for making it on to the lovely blog Bloesem Kids blog. It's a beautiful blog that we've loved for ages, so I'm super pleased they've featured the Robin & Mould cushions available on their Etsy shop.


As soon as the Etsy shop went live I got super excited and ordered myself a fabulous tea cosy and owl cushion. The cushion was supposed to be a gift but I've become too attached to it to give it away. I'll just have to buy some more...


Monday 15 March 2010

My first attempts at embroidery...

During my blog surfing I came across this great website Sublime Stitching which has loads of modern embroidery patterns. When I was a kid I did some cross stitching but I've never had a go at embroidery. I suppose it has a rather old-fashioned reputation but after seeing some modern stuff on other blogs and the quirky designs at Sublime Stitching I was inspired to give it a go.


Sublime Stitching is a small independent company based in Austin, Texas USA with a great slogan 'This ain't your gramma's embroidery!'. This pretty much sums up their ethos with patterns that feature everything from sushi, tattoos and beach babes to work by upcoming illustrators and designers. The founder Jenny Hart writes her own blog and it really is great to feel that you are supporting a small independent business. Hopefully people will feel the same about my stuff if I ever start selling things!


I chose some cute designs by artist Julie West and my starter kit arrived packaged up with threads, a hoop, the all important stitching instructions and a great pair of cute pink embroidery scissors. And a tea towel to get started on. It really is as easy as Jenny promises in the instructions. All I had to do was cut out the designs that I wanted and arrange them on the tea towel and iron on the transfers. The special ink means that it only takes a few seconds to leave an imprint and you can use the transfers more than once. Genius!


So once I'd ironed on my design, I started with the chain stitch and it really was very easy and addictive. I really like the fact that you just follow the outline, like a sewing version of paint-by-numbers, which means it's a relaxing thing to do while watching telly or listening to music. I'm already thinking of ways to incorporate my own designs into future projects. This could be the start of something very exciting....I'm hooked.

Material Girl


So now I've made one pair of curtains (one down, one to go) I'm allowing myself to start thinking of other fun sewing projects. For a while now I've had my eye on some cute material in Beyond Fabric, a lovely little shop on Columbia Road. I've just been trying t owork out what to do with it and as I have two friends expecting little ones I've been thinking about making bibs and applique baby grows.

This gave me the perfect excuse to buy this at the weekend.


It's so sweet that I definitely want to make something like a purse for myself as well as baby gifts. Incidentally I've got my eye on the metal snap frame purse course at the Make Lounge but I'm just waiting until I have some money to go on it. 

There are quite a few lovely material websites that I've been lusting over recently and now I've decided what I'm going to make I think I can justify buying some more fabric. Yay!
Just check out these adorable fabrics that designer Jilly P has been working on with Hoffman fabrics. I'll post some of the finished baby stuff once I get around to making it. (Images from Jilly P's blog)

I've finally made some curtains!

Well it has only taken a year and a 3 months since I bought the material and I finally got round to making the lined curtains for our bedroom. After going on about how I was going to start sewing again my boyfriend very kindly bought me a lovely sewing machine last Christmas. And on a trip to visit my parents (who live in the Middle East in Oman) I came back with a suitcase stuffed with incense-scented fabric for a fraction of the price it would have cost in the UK. Apart from making a table cloth quite soon after we got back I never really got going on my sewing machine and I confess it has been gathering dust for a while. But I told myself that I needed to overcome my reservations and just get stuck in...otherwise I wasn't allowed to start any other craft projects. 

So I did eventually manage to make the curtains in a weekend and I wish I had lots of lovely photos but one of the main reasons I haven't been blogging recently is that I seem to have lost my camera.  I've been hoping it will turn up but as it's been almost a month now I might have to accept that the camera is gone (possibly left it in a bar/on a bus!) So anyway I thought I'd better start blogging again in the hope that it will turn up and I can add some great photos later.

So I do have some images from my iphone but as it only handles well-lit compositions I haven't been able to get a good shot of our bedroom. So I'll post the photos of the finished curtains when I get them sorted.


It was my first attempt at curtains and although it was time consuming it was actually fairly easy. The worst part was measuring and calculating the amount of material I needed. I've never been very good at maths and I was terrified of making a mistake and ruining the material. I used a wonderful book by Catherine Merrick and Rebecca Day which I found really useful. Even when I made a mistake with my hem allowances, I still managed to salvage the situation and so I was super proud when I got to hang them. It instantly made the bedroom cosy and we could finally take down the bits of material we had put up as a temporary measure when we first moved in.

So even though buying in some curtains wouldn't have been very expensive and would clearly have been much quicker, I now get a warm glow every time I look at mine. It's great to know that I made them and I'm now much more confident with the sewing machine.  And it's given me the confidence to start planning many more sewing projects. More details to come...

Sunday 7 February 2010

Finally got my hands on a Rob Ryan lasercut...


Ever since my lovely friend Amy (who runs Robin & Mould) introduced me to the illustrator and artist Rob Ryan I've been lusting after his art work.
And as if I needed anymore convincing he opened his shop Ryantown on Columbia Road, practically on my doorstep. A sure sign that I was meant to own some of his work. As I'm often down at the Columbia Road flower market on a Sunday it's impossible to resist a little peek in his shop. The only reason I've not bought anything more than cards and bags as gifts so far is the price. The framed laser cuts in the shop start at a few hundred and go up to a few thousand pounds. Sadly out of my price range.


So when I was reading his blog last week I was super excited to see his post about a series of signed limited edition laser cuts he'd made for Valentine's day that were under £50. I thought overnight about whether I could justify the price when I'm supposed to be saving for a holiday, and when I checked back on his Etsy shop the next day they had all sold out online already.
The panic I felt convinced me that I should just go for it. Surely that's what credit cards are for? And anyway his work is going up in value all the time so it's an investment right??
So as soon as his shop was open last Saturday I grabbed the plastic and my flimsy justifications and made my way down there to get one. And I'm so glad I did. It's lovely and I can't wait to get it on the wall. Just need to find a frame that's the right shape....I'm definitely in love!

Monday 11 January 2010

The Veil & The Wedding Day


My sister was convinced that she wanted to look a bit different on her special day and after we found her beautiful lace dress we started discussing vintage accessories.
I found lots of the American wedding blogs particularly inspiring as they feature lots of stylish retro weddings. If you're interested check out Wedding Chicks, Jesi Haack Weddings and Project Weddings. We decided that a birdcage style vintage veil would look amazing with the dress and would be a traditional touch without looking 'too traditional'. We saw lots of great veils on the always inspiring Etsy but none of them were quite right, and after making my own fascinator I assured my sister I could make her one. (Always over-confident!!)

After discussing some designs she found a wonderful vintage broach for the veil base while she was buying vintage jewellry to go with the wedding dress. We had a number of fittings at various stages and quickly realised that we must have very different shaped heads as the veil pinned at an angle on me looked completely different on her. This made it very difficult to finish the veil without her around. So I decided to leave cutting the veil section to the right length until the night before the wedding. This was also due to the fact that the weight of the brooch meant we were struggling to pin it into her hair and I was hoping the hairdresser would work some magic and come up with a solution! Fingers crossed!

However as is often the way we ended up catching up with friends and relations who had gathered for the wedding the night before and after drinking too much I confidently insisted we could just sort it out on the day!
So on the morning of the wedding not only had the crisp sunshine of the day before been replaced by a heavy fog, but I started to panic about the fact that with just hours to go I still hadn't finished the veil and cake. No pressure then!

So I went to the barn with my soon to be brother-in-law and the groomsmen as they were delivering the decorations and helping to set up. It was quite a relief to see at least one completed project arrive all finished. We had used purple and silver Christmas baubles as both name settings and wedding favours. They looked beautiful and festive on the day but had involved a good few hours of writing on the baubles and arranging them in gift boxes to look like mini Christmas pressies (photos to follow). After a nervous half hour stacking and then re-stacking the stars on the cake I headed to the house where my sister was getting ready. Luckily a few glasses of bubbles meant that she was showing no signs of nerves. And the fabulous hairdresser Sharon Wilkes-Burt managed to miraculously secure the veil with only a few expertly placed pins. Then the dreaded moment when I had to cut the veil to the desired shape. The nervous hairdresser and photographer looked on (being photographed while taking scissors to the veil wasn't helping!) and I hoped for the best, well aware that there wasn't a back up plan if I screwed it up. With a few pins and a few frayed nerves we finally got there.

My sister looked truly beautiful on her big day (she actually dropped over 2 dress sizes for the wedding!) and although making things for the wedding was hard work at times, it was a great privilege to be such an integral part of the celebration. And I learnt some important craft lessons along the way!

(Hopefully I'll have some better photos of the veil when the official photos arrive)

The Wedding Cake


After seeing the cake I made for a family friend's birthday (see below), my sister asked me to make one for her wedding to sit alongside the Cheese Wedding Cake (stacked whole wheels of West Country cheese - yum!). To be honest I was a bit worried about it as all the ingredients work out quite expensive so there was no real chance for a trial run. And I hadn't actually eaten any of the one I made before! So there was nothing for it but to just hope it worked out OK.

As my mum is Irish she assured me that as long as I followed the golden rules it should work out fine - soak the fruits in brandy for weeks beforehand, add some extra brandy, then once the fruitcake is made feed it with more brandy and if in doubt add more brandy!

The cooking all went fine, and the marzipan went without incident - the icing was another story. The first batch of icing kept cracking and after spending over an hour covering the first cake I had to admit it looked awful, remove the icing and resolved to fight the icing battle another day. As time was running out the second attempt was equally stressful - for the first cake I made the icing too thin. Then by over compensating for the top layer I ended up with super thick icing - I knew that while this looked smoother it meant that the desired size difference between the layers was no longer going to happen. Oh well!

I had a vague memory of seeing stacked silver stars on top of a Christmas cake in a magazine and had decided this would fit in well with the purple and silver wedding theme. However as I was cutting out the icing stars and adding edible glitter I realised that not only did I have no idea how to attach them but I wouldn't be able to drive an assembled cake down to the Cotswolds and I'd actually have to assemble it on the morning of the wedding! As a bridesmaid with plenty to do on the morning of the wedding already, having the stress of assembling the cake with only a vague idea of how I wanted it to look was indeed quite daunting!
I'm not sure how the venue staff moved the cake from one side of the room to the other as the stars were balanced on top with only a few stuck down but it survived. I definitely think I'd practice some more icing before doing anything as important as a wedding again!


Felt Flowers

So now that Christmas and New Year are over, I've finally got time to share some details of the craft projects I was working on for the my sister's wedding in December.


Before I get to the wedding itself I wanted to post some pictures of some felt badges that I made for the hen party. Over a blustery weekend in Brighton my sister's friends gathered to drink champagne, catch up and do a bit of dancing. On the Saturday we thought a Seaside Treasure hunt around the Brighton Lanes and on the pier would be a good way for the hens to get to know each other. And as a healthy bit of competition always helps to break the ice I came up with the idea of splitting people into teams with their own team badges.
As I love working with felt I decided some simple felt flowers would work best and it was a great excuse to buy some lovely new felt.
These are really simple and would make a great sewing project for children as they only really involved sewing on the button to attach the felt petals together and then sewing on the safety pin at the back.